how to: make a pattern repeat in Photoshop
In an effort to make Hey Lucy more interesting and useful, I thought I’d make more of an effort to share more how-to’s and tutorial type stuff. I may even try to get around to finishing up that sewing class idea I had once upon a time. I have been flakey this year, and I am sorry about that. When I get stressed out (and this has been a pretty stressful year), I tend to get flakey. I am going to do better. So, how about a quick guide to making a repeating pattern with Photoshop?
I am not in any way an expert when it comes to Photoshop. I just learn new things as I need to. While re-doing my site I found the plain background a little boring, so I decided to make an image that I could tile. I love the way it came out, and it was so easy. I’m not sure if this is the proper way to do it, but it worked for me and just took a couple minutes. I have Photoshop CS5, but I think this will work for most versions.
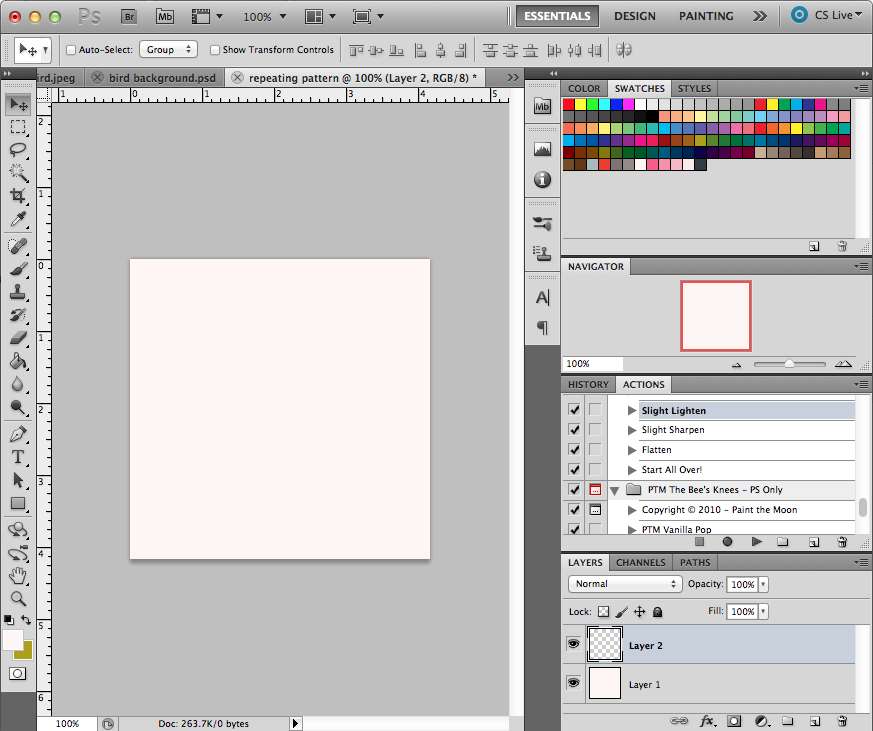
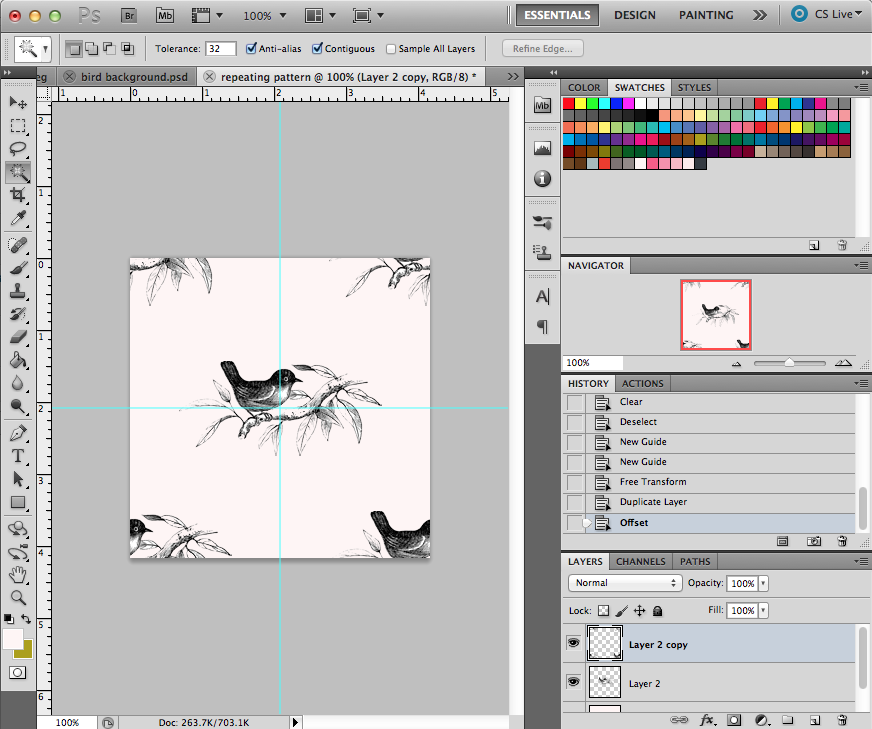
You’ll need an image to use for your repeat. I used this little bird, that I found on the Graphics Fairy website. She has lots of fun, vintage images you can download. Open the image you want to use and also create a new, square image. I made mine 300px x 300px. I added a background color, you could also do a transparent background.
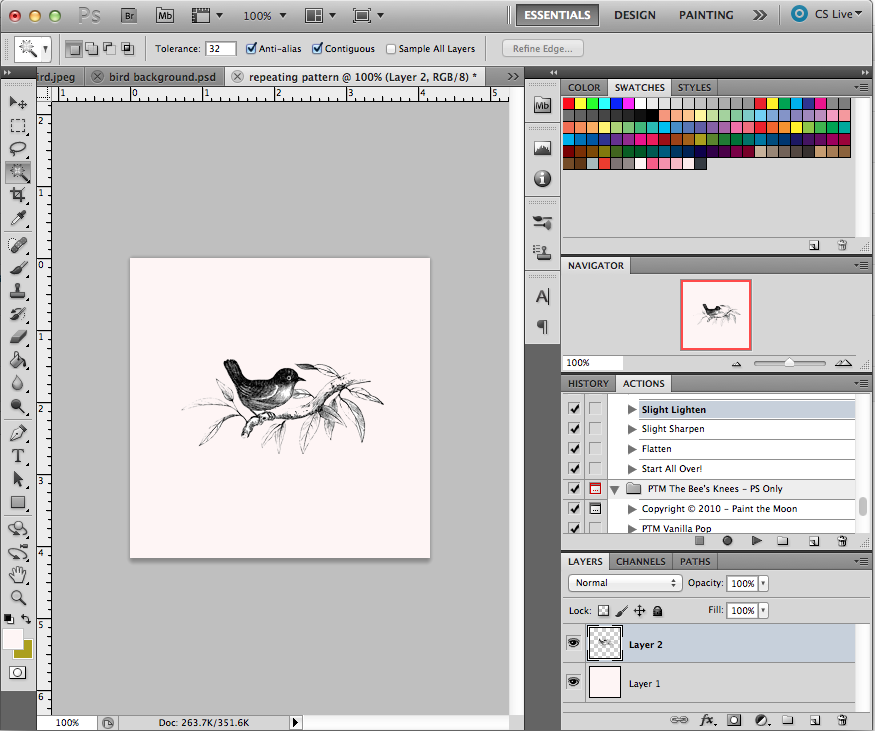
Go to the image you want to use and copy it (I used the magic wand tool to select the background of my image file, and then went to Select > Inverse to only select the birdie). Add a new layer to the new image you created and paste your image there.
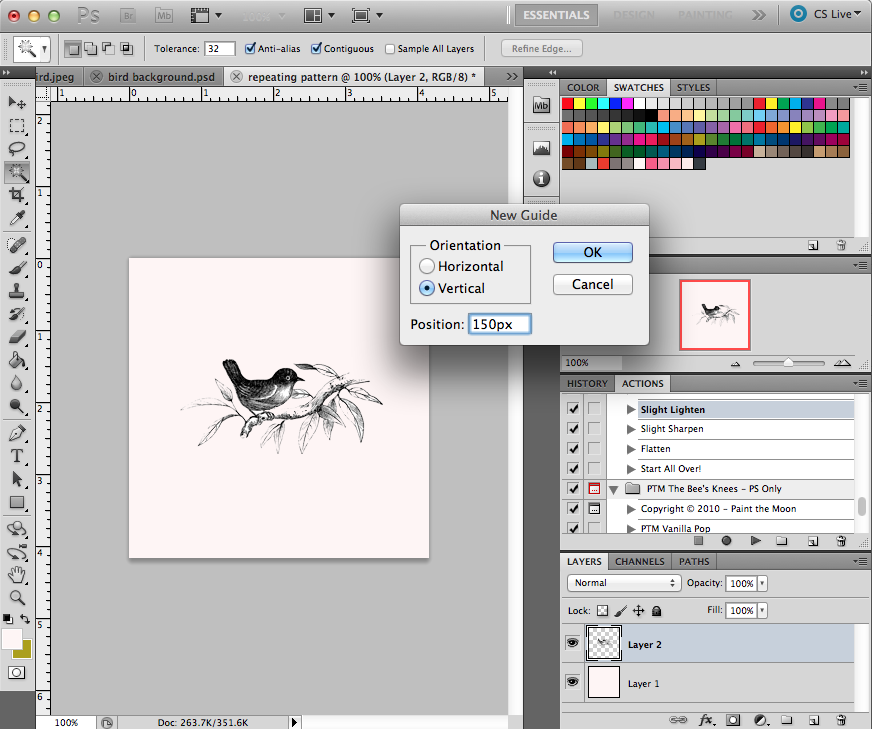
Adjust the size of the copied image, if necessary, using the Transform tool (Edit > Transform > Scale). Now add some guidelines by going to View > New Guide. Add a horizontal and a vertical guideline to the center of your image. Because my image size was 300px square, my guidelines are at 150px.
Once your guidelines are in place, go to Edit > Free Transform (Mac: Command-T; PC: Control-T). Use the bounding box that appears to center your image. The center squares will snap neatly to the guidelines. Hitting Esc or Enter on your keyboard will set the image in place and dismiss the bounding box.
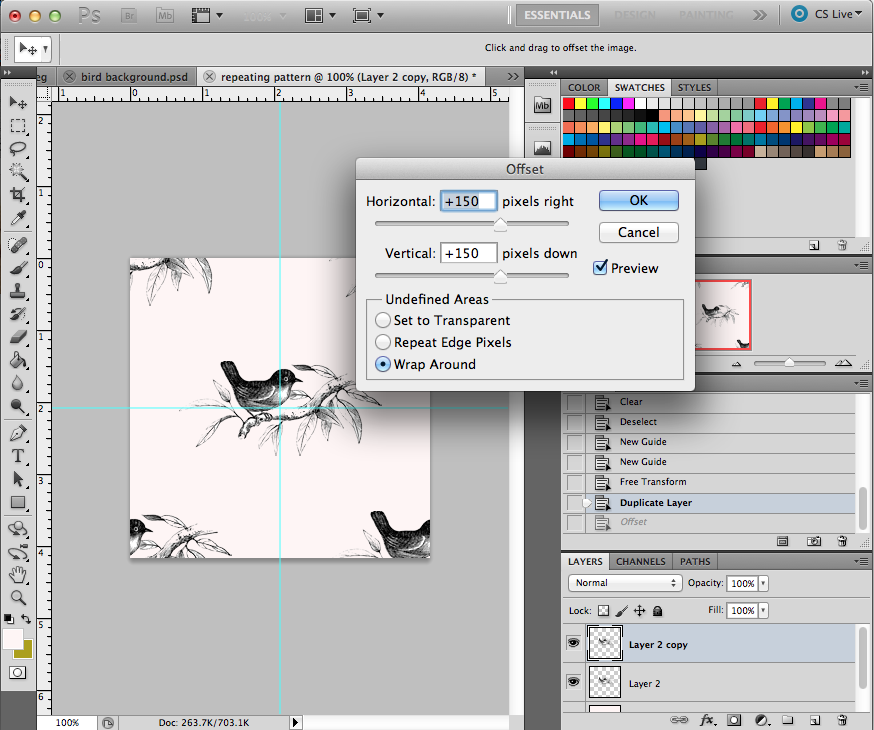
Now copy that layer, so you have two birdies, right on top of each other. Select one of these layers and go to Filters > Other > Offset. Change the numbers in the Horizontal: and Vertical: boxes to half the size of your image. Again, since my image is 300px, I offset it by 150px. Click OK.
And there you go, you have an image that will tile perfectly. I changed the opacity on the bird layers to about 10%, and then flattened the whole thing and saved it as a .jpg for the background here.
Isn’t that easy? It’s not a super fancy or complicated background, but I like it.

